My friend told me about an awesome website for stampers. It is called Split coast stampers.
Make sure you have some time to look at the website before you go to it
because it sucks you in. My favorite part of the site is that you can
look up different card ideas based on the stamp sets used. The same
friend who told me about the site is letting me use some of her Stampin
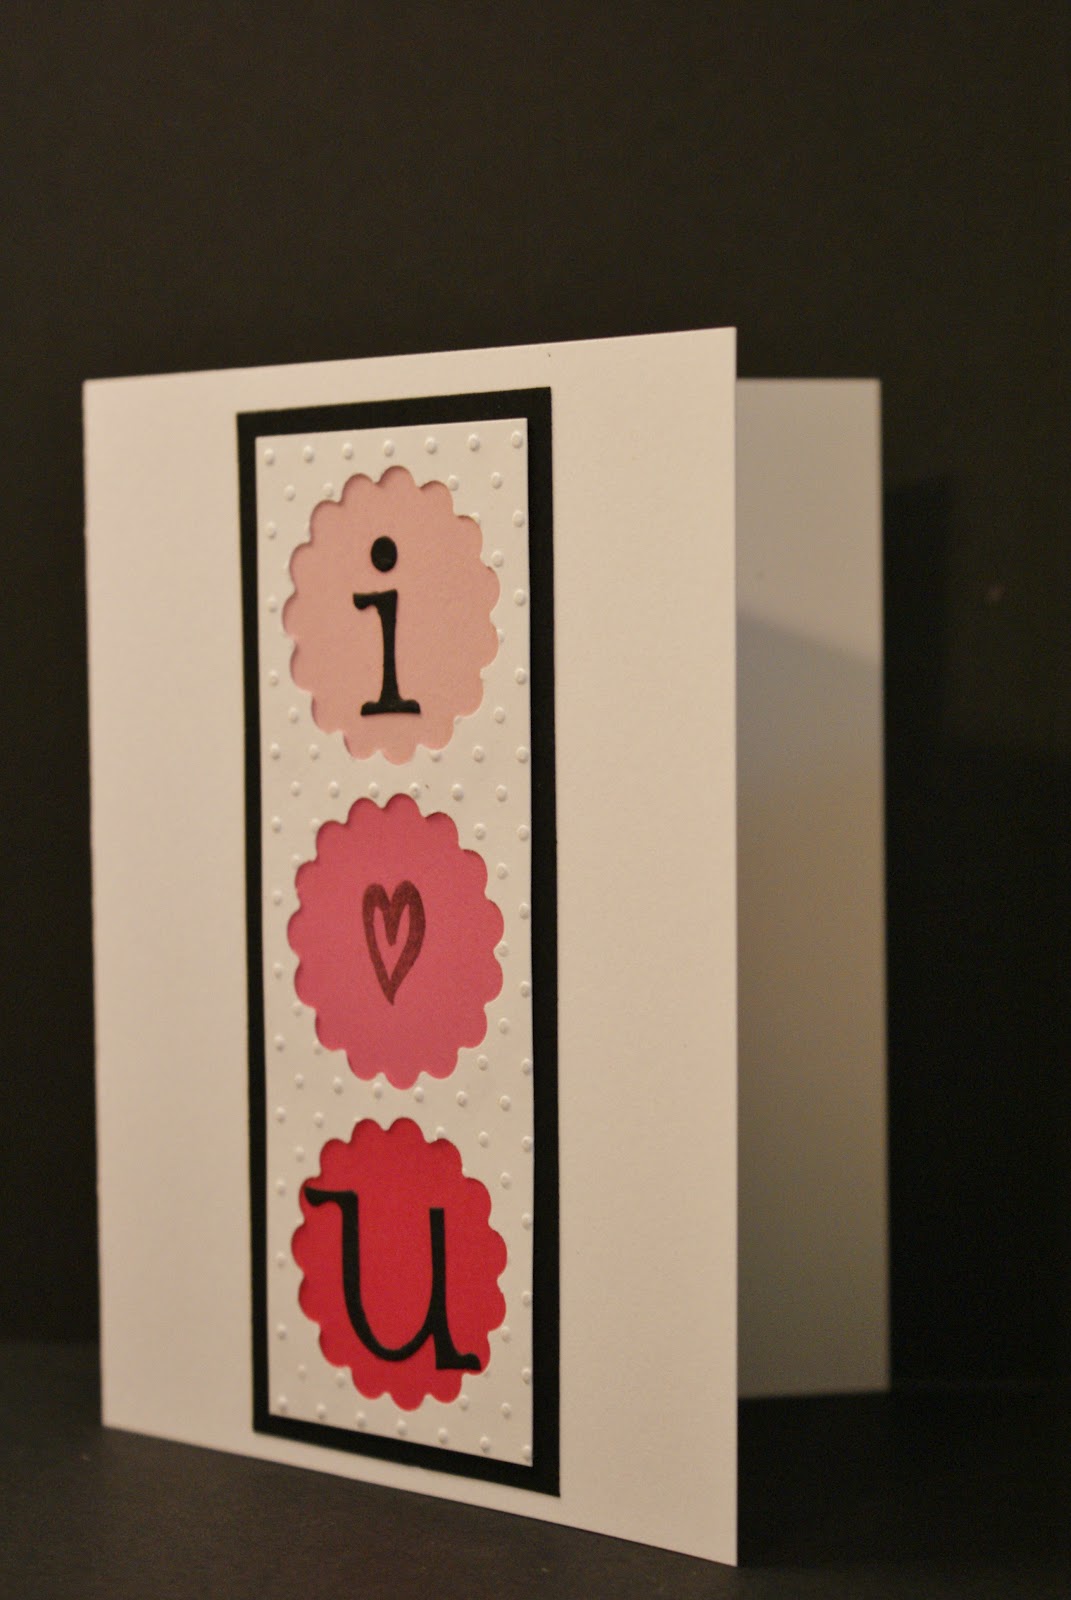
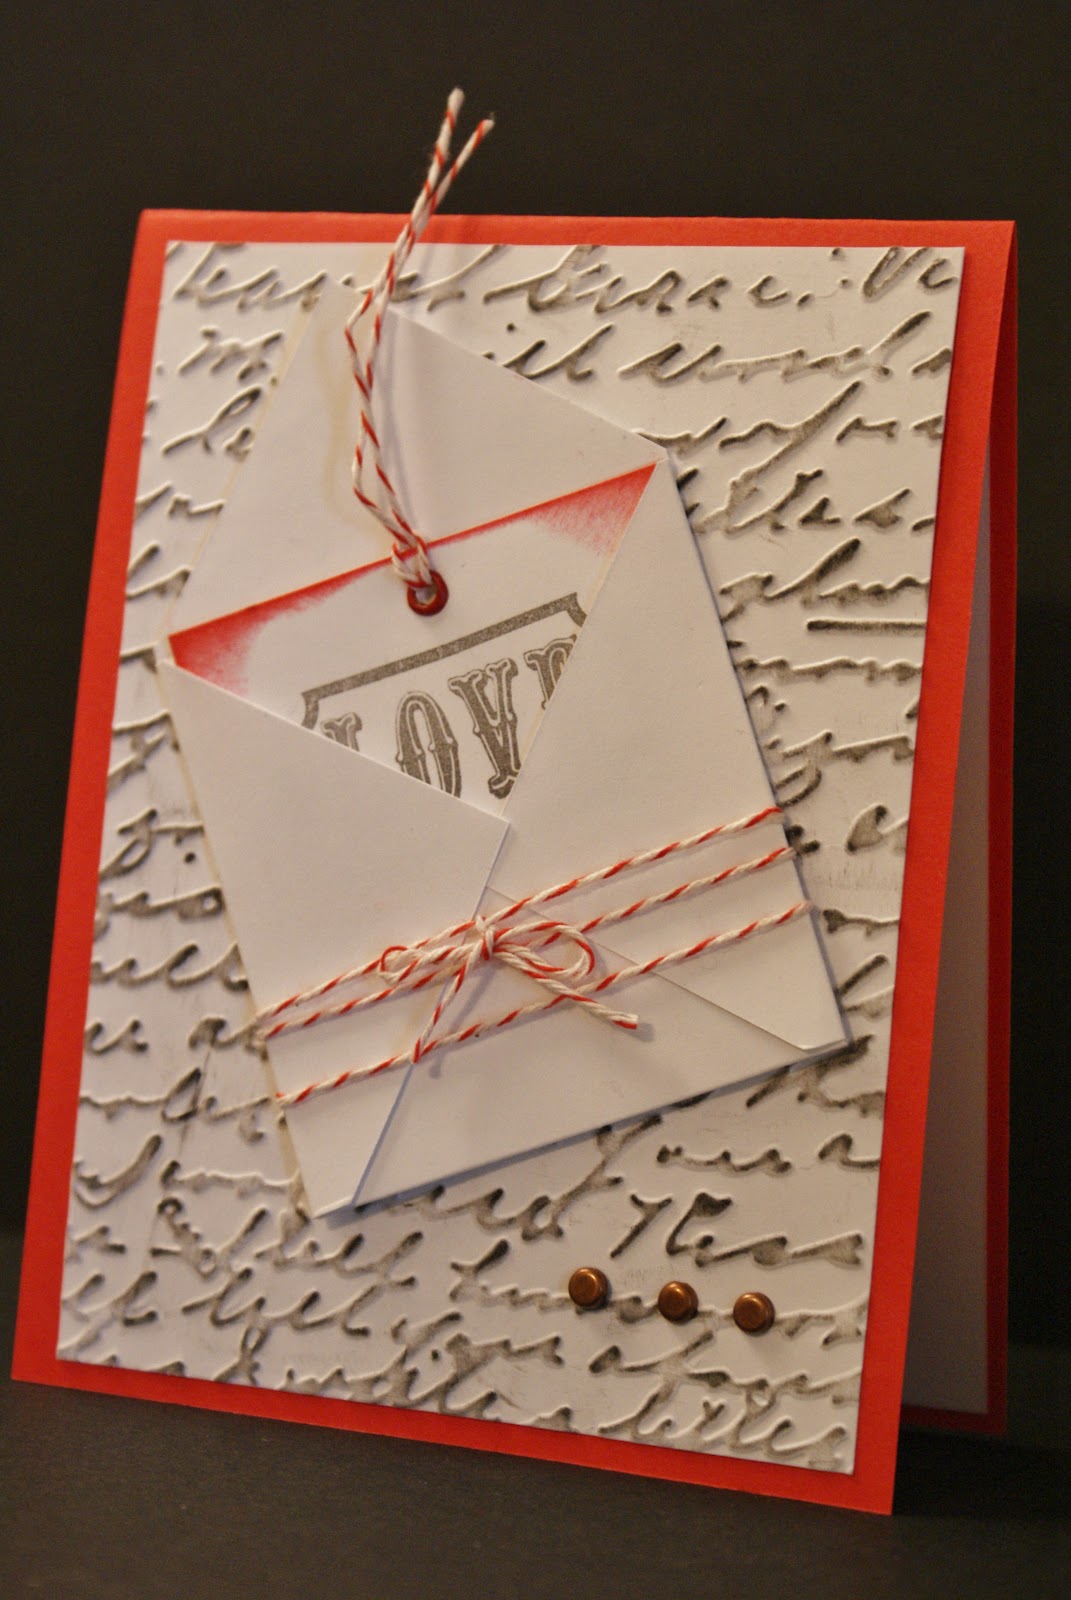
Up stamp sets. One of them is Loads of Love and I am so excited about
all the ideas I got from the Split Coast Stampers site for this stamp
set. The site also has wonderful tutorials. Check it out. You won't be
disappointed.
Tuesday, February 28, 2012
Split Coast Stampers
Thursday, February 16, 2012
Success!
I can't believe it! I am so excited to report that in one week of having a card display at the Village Office Supply in Miami Lakes, I sold.....15 cards! Now I know I probably won't sell that many consistently since this week was one of the biggest card giving holidays. I am mostly just excited that 15 people thought my cards were worth money and they liked them. Hurray!
Sunday, February 12, 2012
Greeting Card Display Case
I needed something to display my cards on in the Village Office Supply Store. I wanted something that could hold as many cards as possible. There were some wire racks on sale online but with shipping it was too pricy for me. My wonderful husband made me one. I took pictures while he was doing it so other people might be able to replicate it pretty easily.
HINT! Pre drill the holes for the nails. Then put the nails in. It makes it easier. It is also good to use wood glue to put the pieces together before drilling or nailing.
Supply List:
2 x 4 x 1/4 inch piece of ply wood(for panels)
1in x 3in x 8ft (for sides. only use 4 ft)
1in x 2in x 8ft (for legs and strip in the front)
wood glue
drill
hammer
nails
screws
If you have any questions you can email me at briellekennington@gmail.com I'll probably have to ask my husband for the answer but I'll get back to you :)
Friday, February 10, 2012
Thursday, February 9, 2012
I love You
I'm actually not very pleased with how this top card turned out. I just wanted to show you that not everything I try turns out very nice. I used my scalloped punch for the embellishments.I think it would have turned out nicer if I didn't ink the embossed cardstock. Oh well...live and learn.
I used a paint swatch for the bottom card. I embossed a piece of white cardstock. Then I punched three holes in it with my scallop punch. Then I placed it over the paint swatch and backed the whole thing in black cardstock. I used die cut letters for the i and u. I stamped the heart in the middle.
After doing so many Valentines Cards I am convinced that I would like to invest in a heart punch. Leave me a comment if there are any you would recommend.
Wednesday, February 8, 2012
Messages of Love
I was thinking of love letters when I came up with the design for this card. I used my cuttlebug embossing folder for the background. I rubbed black ink on the embossed part to give it more definition. Then I made a little envelope and glued it to the front of the card.
Next I stamped my Love sentiment and inked the edges. I added an eyelet and some bakers twine and brads for more embellishment. The cardstock with the love sentiment can be pulled out of the little envelope.
I love this card because of the depth and all the different texture. We'll see if other people like it. All the Valentines Day cards I have been making are at the Village Office Supply store in Miami Lakes, FL. The next time I go in with a batch of cards I'll take a picture of the display.
Subscribe to:
Posts (Atom)


