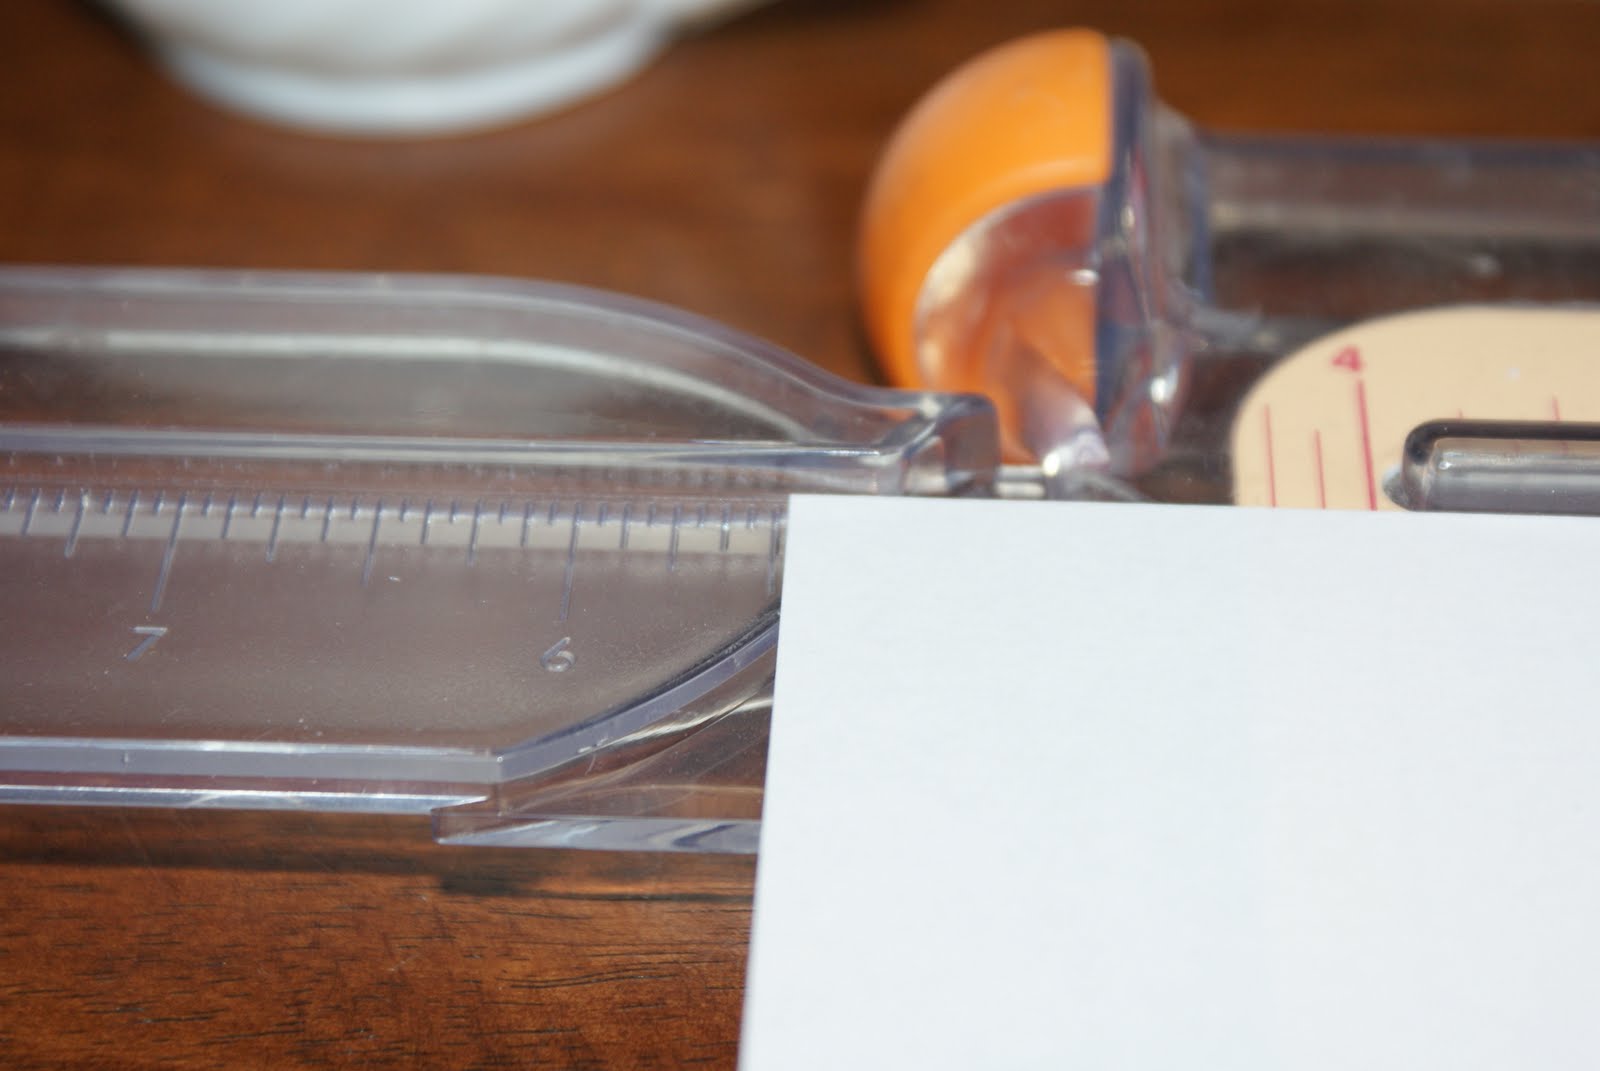
I tried to get a picture of everything you will need for this project in the picture. If you don't have a paper trimmer then you can use a ruler and exacto knife. Just make sure you have a mat or large piece of cardboard underneath when you are using it so you don't cut through your table.

The first think you are going to do is get your cover ready. You can use a piece of framing mat board or you can get a notebook with a thick cover on clearance at Walmart like I did. I just took the covers off the notebook and then put a coat of white acrylic paint on. Let it dry very well between coats.

The is what it will look like after two coats. You just need to be able to put your paper on the cardboard without the decal showing through your paper.


Here is my finished stack. I cut 75 pieces. You can make it as thick or thin as you would like.

Put one of the pieces of cut paper on your cardboard and trace it. This will help you know where you need to cut your cardboard. I add 1/4 in to two of the sides before cutting the cardboard. This will make the cover a bit bigger then your paper. Cut out your cardboard.

Then you will trace your cardboard on the piece of paper that will be your cover. I used a 12 x 12 piece of scrapbook paper. Tracing it will help you know where to put the glue.

Put rubber cement in the scrapbook paper inside of your guidelines. LET IT DRY


Place the cardboard onto the scrapbook paper and press firmly.


Then you need to place the ruler at an angle at each corner. This will be your guide to cut the corners off so you can make a mitered corner later.


This is what the cover will look like after you've cut off the extra paper and the corner pieces.


Put rubber cement on the cardboard and on the piece of scrapbook paper. LET IT DRY.

Use the cardboard to get a nice clean fold. Then fold the paper up and stick it to the cardboard.

Do this to all four sides.

Take your other piece of cardboard and place it onto the other piece of scrapbook paper. Trace it. Then cut out a 1/4 in piece out of the cover. This will be the front cover so cutting the 1/4 in piece allows you to open the cover. Then you glue the cardboard to the scrapbook paper like you did before. MAKE SURE YOU USE YOUR TRACED AREA AS A GUIDE. LEAVE A 1/4 IN SPACE.

Then follow the same steps you did with the first piece of cardboard.

This is what your two covers will look like.

Cut two pieces of matching paper and glue them to the inside of the covers using the dry bond I described earlier.

Sandwich your paper stack between your two covers. I always keep the paper flush with the binding on the side where the cover will oven. This is where you will drill your holes and sew your binding. Make sure you don't do this on the wrong side otherwise your book won't open. You will be doing all these next steps on the side that has the 1 in piece. I hope that made sense. I always put a piece of white paper on the cover so I can draw my dots where I will drill and then add plenty of rubber bands to keep the paper in place.

I used a noble binding for this book. I don't know where I got this information from. My high school art teacher copied it from a book for me 6 years ago. I don't even know the name of the book. I hope you can see the diagram well enough to sew the binding.

Place your dots. There will be 6 dots total.

Now you will drill holes in your book through all the layers with a drill. If you have a drill press...good for you. I don't so I use my husband's hand drill. Just make sure you are drilling straight down. Sometimes it is easier to do if you are drilling the book on a board of wood so you aren't bending the book while you drill. Sorry I didn't get a picture of this. It is hard to take a picture while you drill. Then you sew the binding. I use a blunt needle and cording. You can also use ribbon or hemp. Make sure you leave a 2 in tail so you can finish sewing the binding at the end. I hope you can follow the picture.

This is what it looks like after it is all sewn. Then you take the piece of paper off and the rubber bands.