
Did you try tying the bow from yesterday? This next one is a littler harder to demonstrate. Again it will be easier for you to use ribbon that is the same on both sides.
 |
| Again... leave the ribbon on the spool. |
 |
| Open your card with the front of the card facing up...towards you. Lay your ribbon underneath the cardstock. |
 |
| Start just like you did with the first bow. You will be tying a bow just like you would tie your shoes. I always keep the shorter length of ribbon on the top. |
 |
| Wrap the short piece under the long one. |
 |
| Make a loop in the short piece. (Bunny Ear) |
 |
| Wrap the longer piece around the loop of the short piece. |
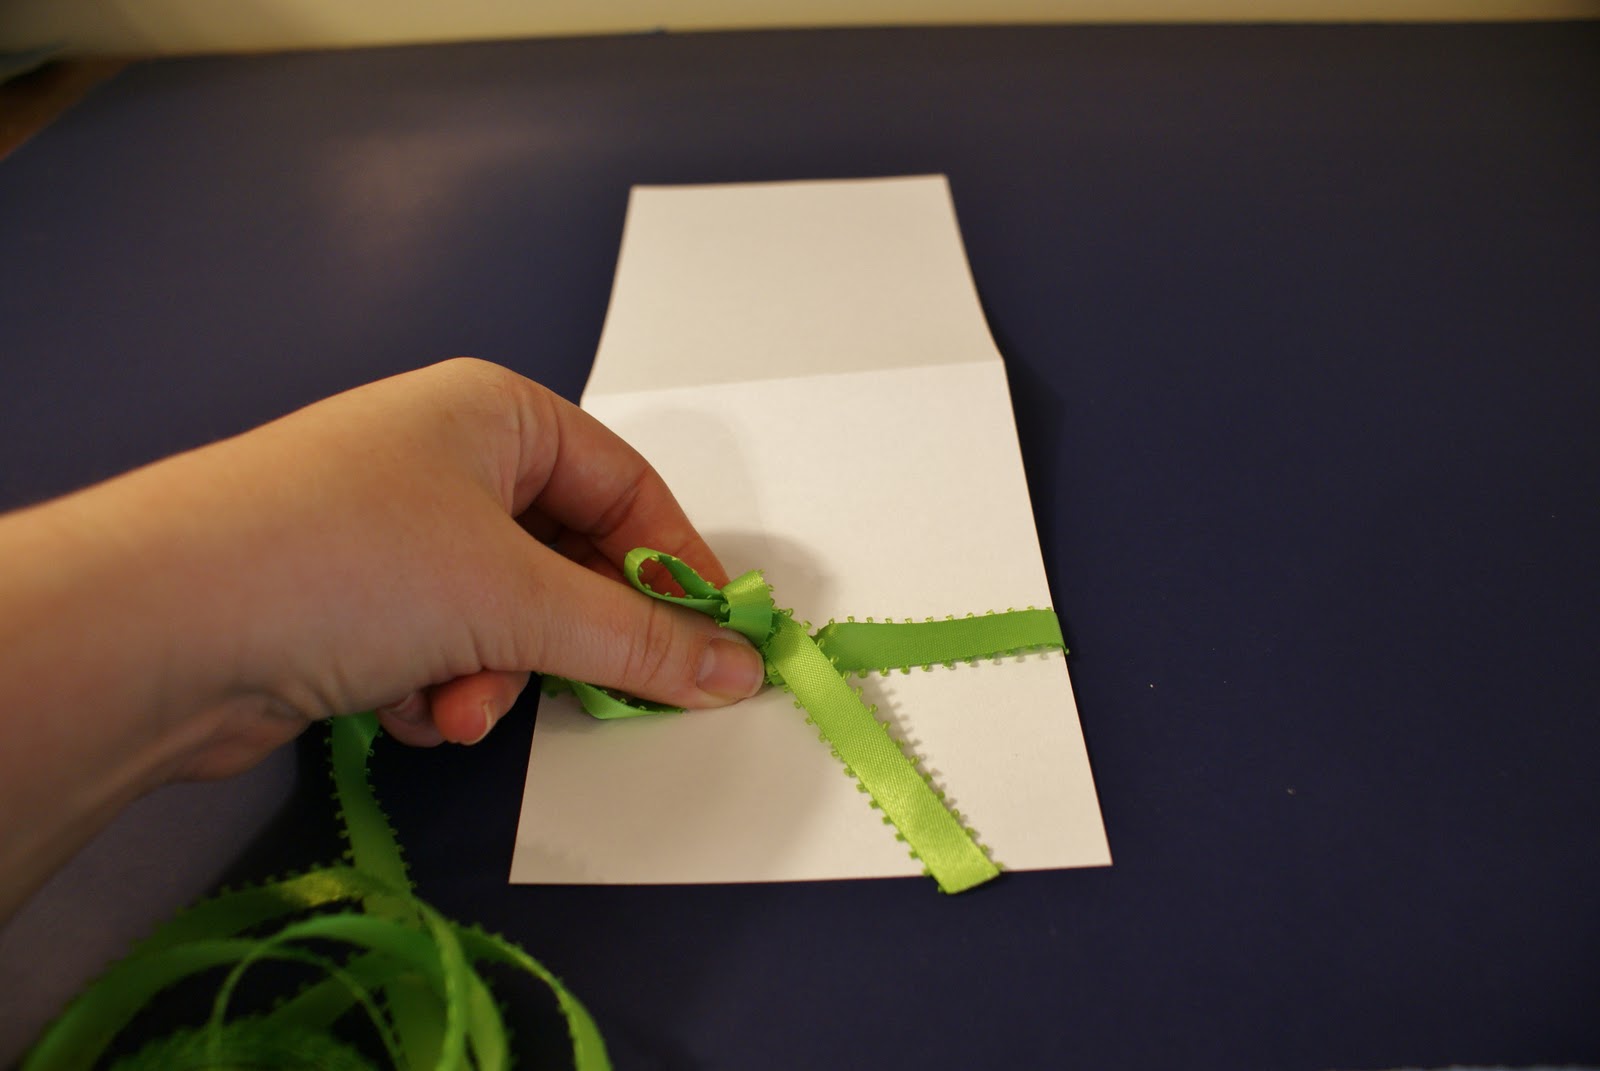 |
| Push the longer piece of ribbon through the hole... under the short loop. |
 |
| Pull it through and adjust the ribbon. I make the loops the size I want and I pull on the loops to make the bow tighter. |
 |
| Almost finished. Now you will want to finish the ends. You can either cut the tails at an angle like you did for the first kind of bow or.... |
 |
| Fold the tail in half lengthwise (hot dog) |
 |
| Hold you scissors at an angel. Notice how the scissors are angled towards the fold. |
 |
| Cut the ribbon. This is what the tail will look like. |
 |
| This is the piece that you cut off. If the tail on your bow looks like this then you need to angle your scissors differently. |
 | ||
| All done!!! If you have any questions feel free to leave me a comment. I hope this made sense. It was harder then I thought it would be to explain how to die a bow. Good luck and happy tying! |


No comments:
Post a Comment