
As requested I am posting a tutorial so you can tie the bows you've seen on my cards. There are several different ways to tie bows. I like the two that I am showing you the best. They are easy to do. I've taken step by step pictures...which wasn't easy by the way. I had to tie the bow with one hand and hold the camera in the other.
Helpful hint...Use ribbon that is the same on both sides. If there is a print on one side it is a little trickier to get the print facing the way you want it.
Ok Lets get started. I'll start with the method that saves the most ribbon.


Helpful hint...Use ribbon that is the same on both sides. If there is a print on one side it is a little trickier to get the print facing the way you want it.
Ok Lets get started. I'll start with the method that saves the most ribbon.
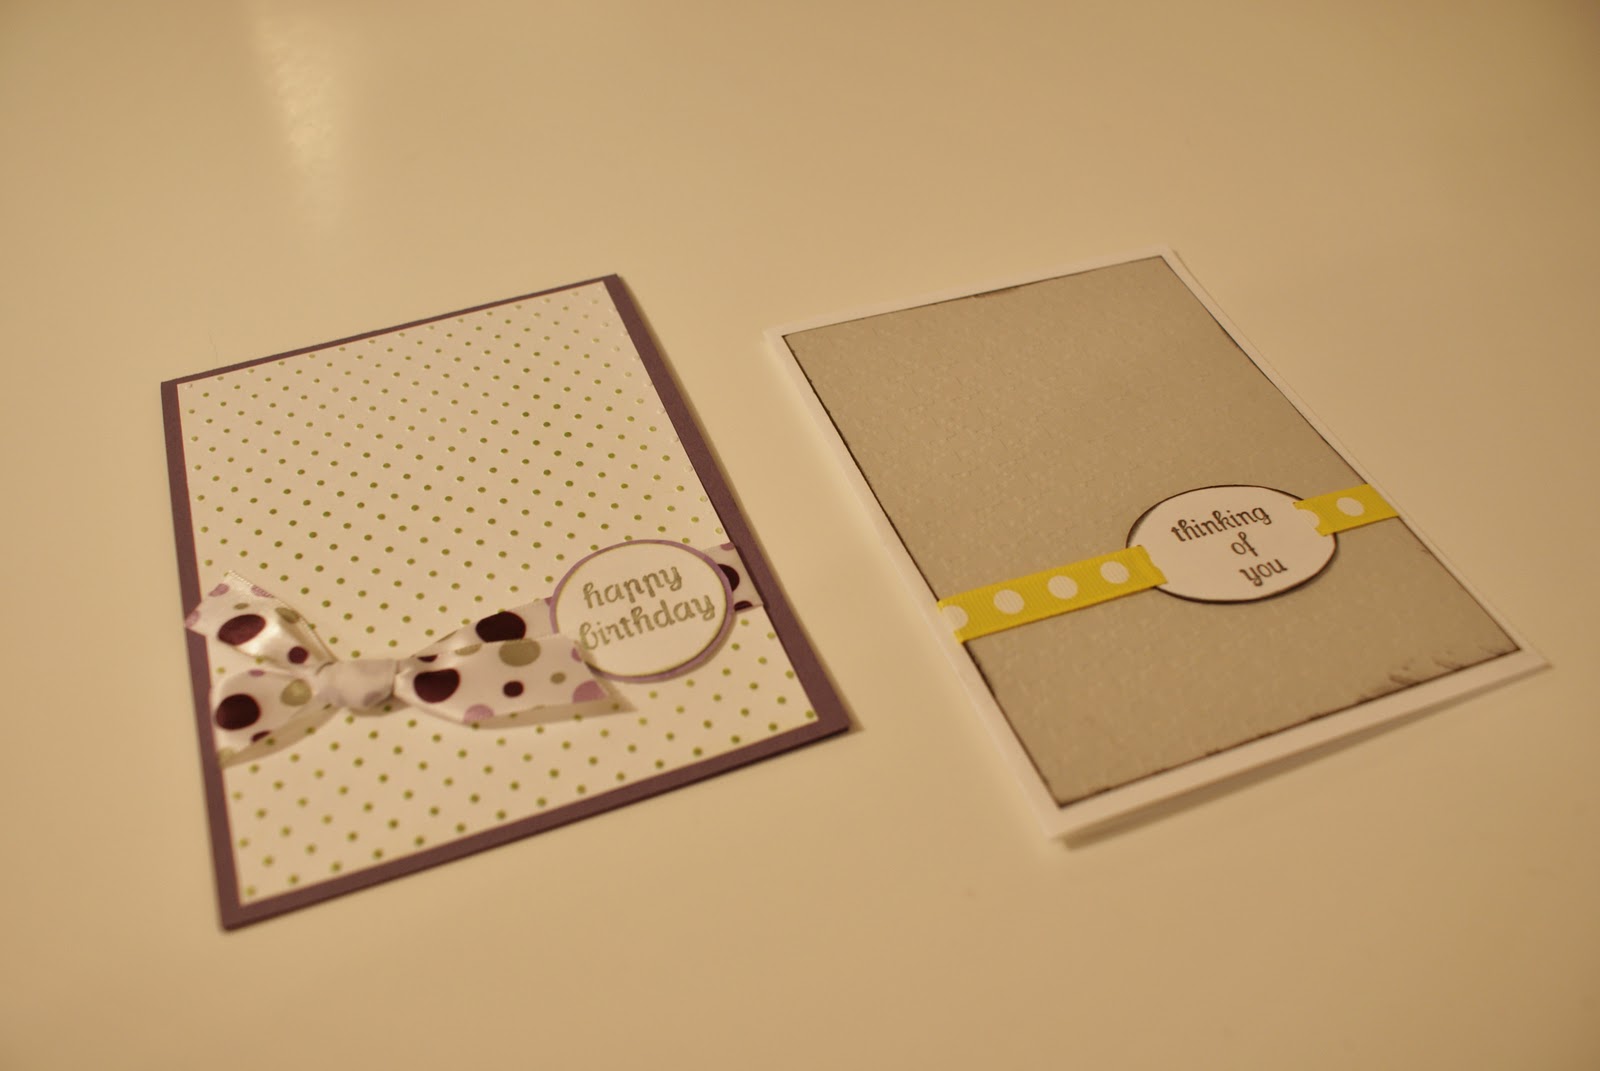 |
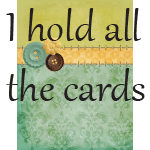
| Both of these cards use this method. |
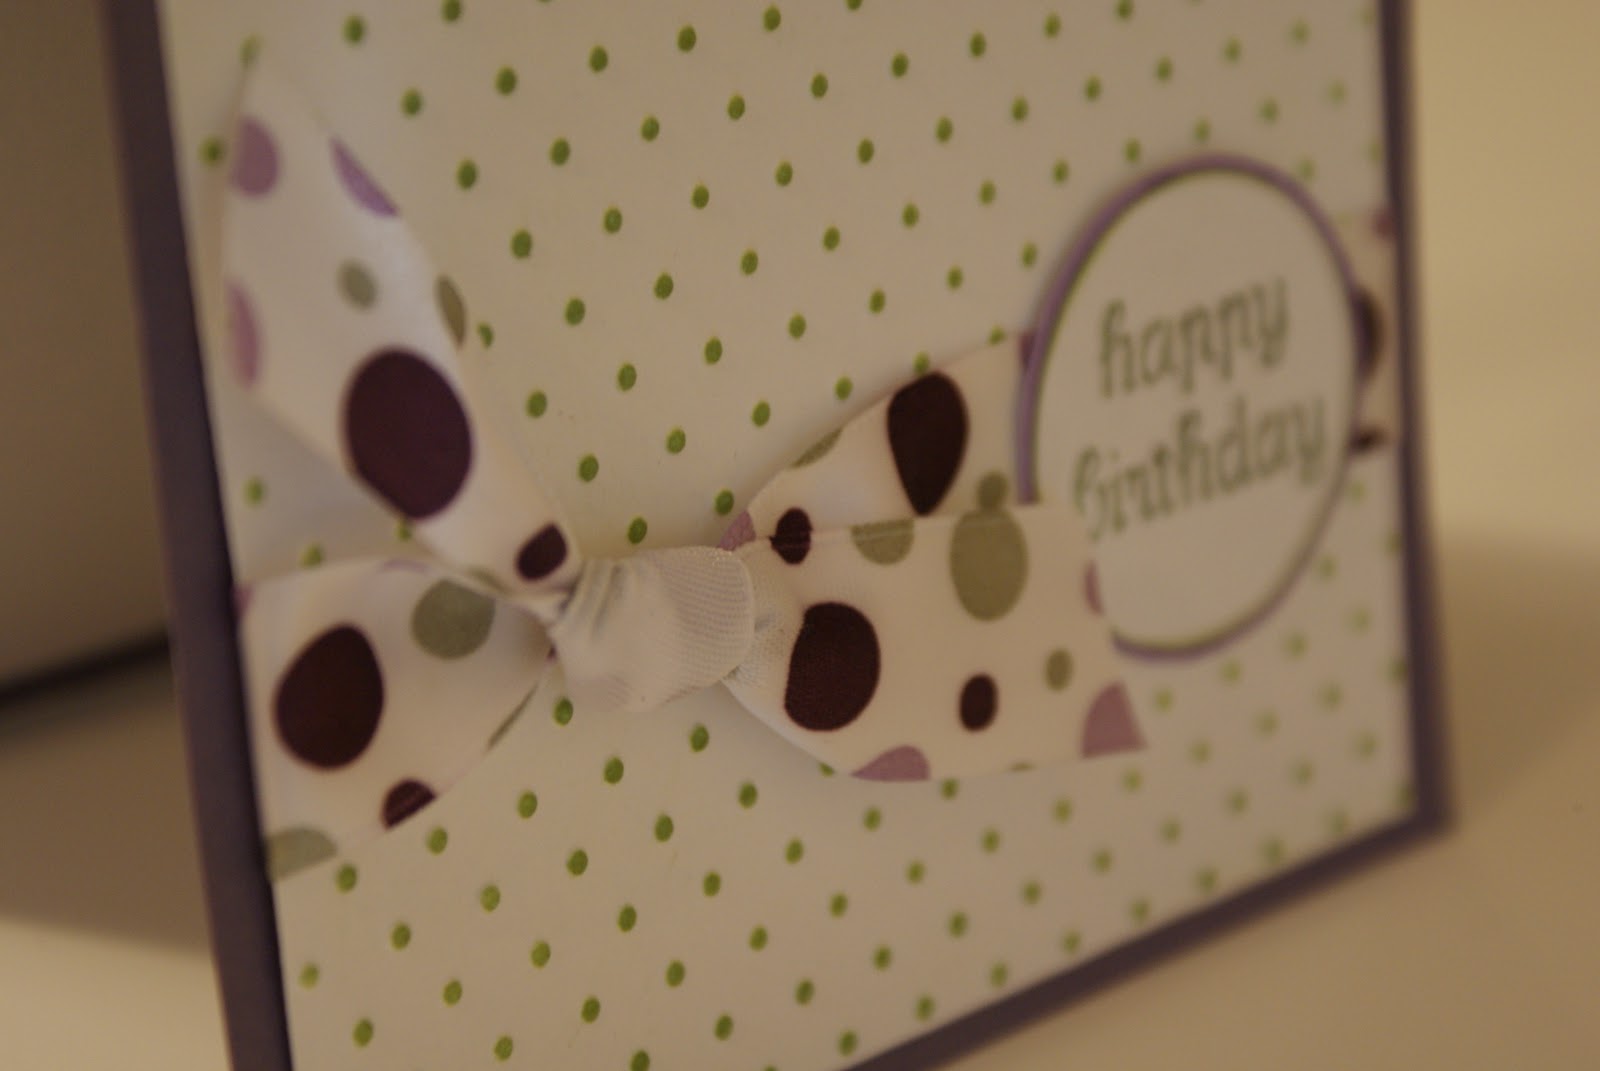 |
| Notice how the ribbon is tucked between the embossed paper and the card base. |
 |
| The ribbon can not be seen on the inside of the card. Even if that white piece of paper wasn't on the inside you still wouldn't be able to see the ribbon. Got it? |
 |
| When I tie my bows I tie it with the ribbon still on the spool. I don't cut a piece off. It wastes less ribbon and it is easier then trying to guess how much you will need for your project. |
 |
| I use this glue stick to tie my ribbon around. You can use a regular glue stick or pretty much anything else that that a similar shape. |


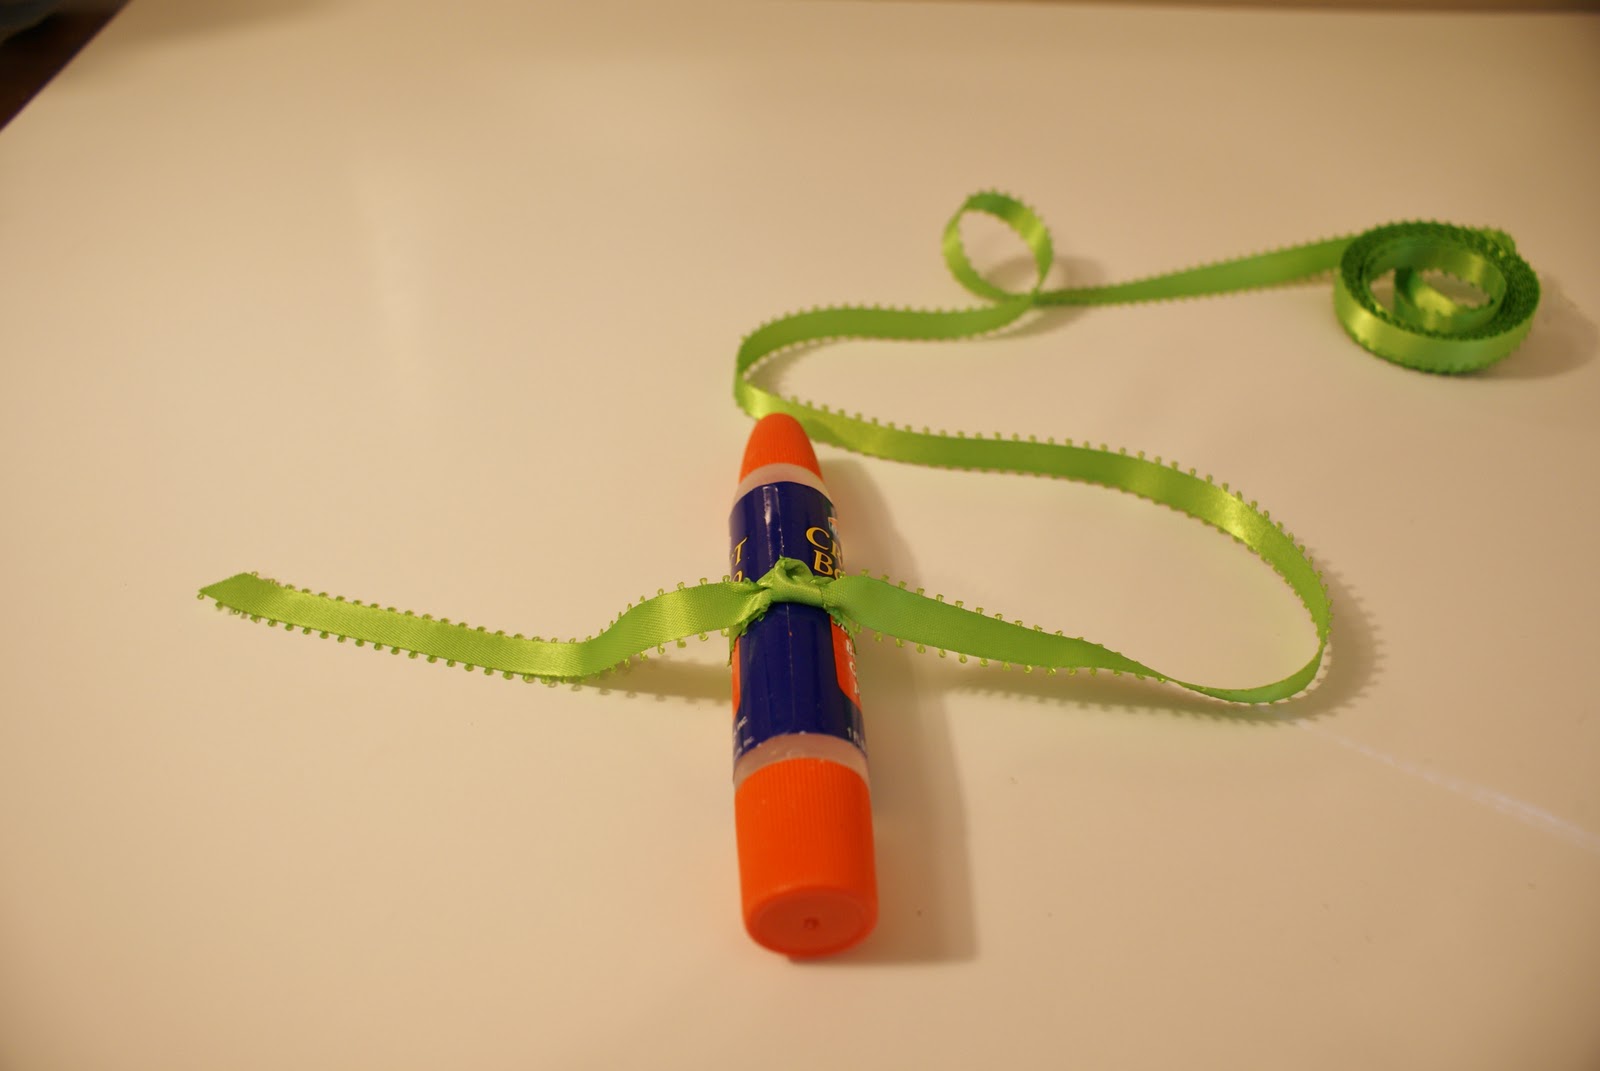 |
| Confused? You are just tying a double knot. |
 |
| Pull the glue stick out. |

 |
| This is what it will look like. |
 |
| Cut it off from the rest of the spool of ribbon. |
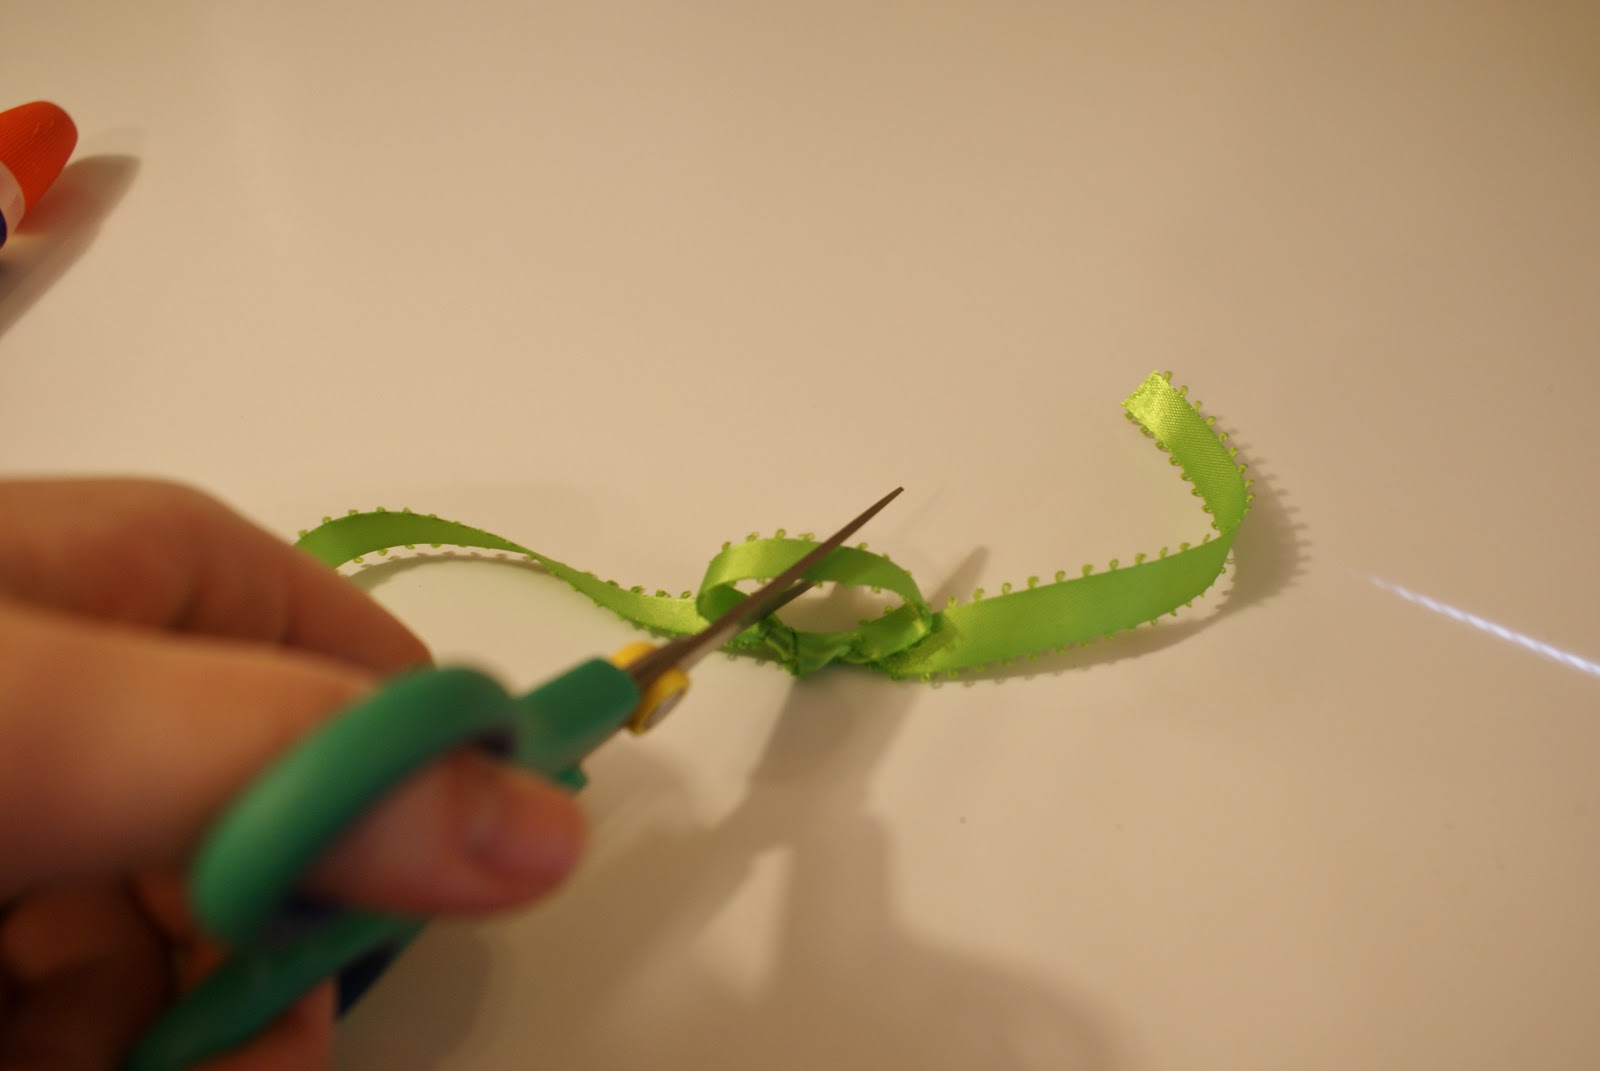 |
| Use scissors to cut the center of the loop at an angel. |
 |
| See? |
 |
| This is what it will look like |
 |
| Sometimes I pull it tighter or adjust it a little. Just tug on the short part of the ribbon. |
 |
| Use double sided tape to stick it to the cardstock. |
 |
| wrap the extra ribbon around the back and glue the cardstock to your card base. |

 |
| Voila! |
 |
| You can see it doesn't show on the inside of the card. |

Now you know how it is done. If you have any questions leave me a comment. I will be posting my other bow tying method tomorrow.


1 comment:
Genius!
Post a Comment